How to Choose and Restore a Vintage Record Player: A Beginner's Guide

This guide covers exactly how to choose a vintage record player that’s worth the effort and how to bring it back to life without ruining its character. You’ll learn what mechanical details matter, which cosmetic flaws are deal-breakers, and how to perform safe restoration at home. Whether you’re after the warm analog sound of a 1970s Japanese direct-drive or the tactile charm of a 1960s idler-wheel console, knowing what to inspect — and how to fix it — saves money, prevents buyer’s remorse, and keeps great machines out of landfills.
What should you look for when buying a vintage record player?
Look for three things first: a straight tonearm, a stable platter, and a cartridge that isn’t snapped or bent. Everything else — scratched dust covers, faded veneer, even a missing 45-RPM adapter — can be fixed or replaced later. (A wobbly platter, on the other hand, often means a worn main bearing that costs more to repair than the table is worth.)
Start with the drive type. Belt-drive tables from Thorens, Pro-Ject, and Rega isolate motor vibration well, but their rubber belts turn to goo after twenty years. That’s an easy $15 fix. Direct-drive decks like the Technics SL-1200MK7 or Pioneer PL-518 spin with torque and precision, yet their complex motor boards can intimidate beginners. Idler-drive consoles — think old Garrard 301s tucked into wooden cabinets — deliver rumble and warmth, though they often need new idler wheels that are harder to source.
Check the stylus under a phone flashlight. A diamond tip should look sharp and symmetrical; if it’s flattened or caked with fuzz, budget $80–$200 for a replacement Ortofon 2M Red or Audio-Technica AT-VM95E. Inspect the RCA cables too. Brittle, cracked leads mean rewiring, which is doable but tedious. Test the cueing lever: it should lower the tonearm slowly. If it drops like a stone, the damping fluid has evaporated.
Where you buy matters. Estate sales in San Diego and other coastal cities often yield clean, climate-stored gear. Reverb’s used turntable guide explains red flags to watch for in online listings. Facebook Marketplace and Craigslist let you test before paying, which is worth the extra drive.
How do you clean and restore a vintage turntable step by step?
Begin with the plinth and work inward: clean the chassis, service the motor and bearing, refresh the belt or idler, and only then address the electronics. Skipping this order almost always means cleaning grease off parts you just polished.
Step 1 — Disassemble and inspect. Remove the platter, the headshell, and the dust cover. Take photos of screw positions. (You’ll thank yourself later when the bottom panel has fourteen identical-looking Phillips heads in three different lengths.) Lay parts on a clean towel. If the deck smells like old cigarettes, a light wipe with diluted isopropyl alcohol on the plinth works wonders — just keep it away from labels and veneers.
Step 2 — Clean the bearing and lubricate. The main bearing is the metal shaft the platter spins on. Pull it out, wipe off the brown sludge of decades-old oil, and re-lubricate with a light machine oil like 3-in-1 or a specialty turntable oil from Origin Live. Don’t overfill — one drop is usually enough. Excess oil creeps onto the belt and causes slip.
Step 3 — Replace the belt or idler. For belt-drive models, measure the old belt’s path and order a matching square-cut belt from places like TurntableNeedles.com or Vinyl Nirvana. If the belt left a black tar line on the sub-platter, scrub it off with a microfiber cloth and a tiny bit of Goo Gone. For idler drives, inspect the rubber idler tire for flat spots. A hardened idler will thump every rotation; replacement tires are available for common Garrard and Dual models.
Step 4 — Treat the tonearm and cartridge. Clean the tonearm tube with a soft brush. Check the headshell wires — they’re fragile and often corroded. If the cueing mechanism is dry, refill it with silicone damping fluid (hundred-weight oil works in a pinch). Install a fresh stylus or a whole new cartridge. The Shure M97xE is a forgiving vintage classic, while the Ortofon 2M Red offers punchier detail. Align it with a printed protractor; Baerwald alignment is the safest default for most arms.
Step 5 — Address the electronics. Pop the bottom cover and look for swollen capacitors, cracked solder joints, or mouse damage. A can of DeoxIT D5 cleans potentiometers and switches. If the speed drifts, the motor capacitor may need replacing — a $5 part, but desoldering requires a steady hand. When in doubt, find a local hi-fi repair shop. Audio-Technica’s official turntable hub also lists service centers and maintenance tutorials.
Is it worth restoring an old record player instead of buying new?
Usually, yes — provided the deck has a solid metal chassis, a decent tonearm, and available parts. A restored 1970s Pioneer PL-518 or Technics SL-23 often outperforms entry-level modern tables like the Audio-Technica AT-LP60X because the vintage units were built with heavier platters, better isolation, and user-replaceable parts. The catch? Labor counts as a cost even when it’s your own.
Here’s the thing: a new Fluance RT82 or Pro-Ject Debut Carbon EVO arrives ready to play, carries a warranty, and tracks modern cartridges beautifully. But those tables start around $300–$500. A $50 garage-sale Technics with $40 in belts, oil, and a new stylus can deliver 90% of the performance for a fraction of the price. That said, if the vintage deck needs a new motor, a bent tonearm, or a missing counterweight, the math flips quickly.
Worth noting: restoration is also a matter of values. Keeping a 1970s Dual CS 506 running keeps electronics out of landfills and preserves engineering history. Collectors often prefer the heft and styling of vintage gear, and many classic models hold resale value better than budget new decks.
| Factor | Vintage Restoration | New Entry-Level (Fluance RT82) |
|---|---|---|
| Upfront cost | $30–$100 plus parts | $300–$350 |
| Sound quality potential | High (heavy platter, mature design) | Very good (modern cartridge, quiet motor) |
| Warranty | None | 2 years |
| Customization | Wide (upgrades, wood plinths) | Limited |
| Time investment | 5–15 hours | 30 minutes setup |
The table above isn’t a knockout win for either side. It’s a trade-off between money and sweat. If you enjoy tinkering, vintage restoration is deeply satisfying. If you want to drop a needle tonight, buy new.
What brands and models are safe bets for beginners?
Stick to companies that made millions of units — parts and documentation are everywhere. Technics, Pioneer, Dual, Thorens, and Garrard dominate this space for good reason.
- Technics SL-23 / SL-25 — Belt-drive, dead-simple layout, and a tonearm that accepts standard half-inch mount cartridges. Replacement belts are $12.
- Pioneer PL-518 — Direct-drive with auto-return. Built like a tank. Often found at estate sales for under $100.
- Dual CS 506 — German belt-drive with a suspended chassis. The idler version (CS 505) is also excellent.
- Thorens TD-160 — A step up in price and performance. The sub-chassis design isolates vibration brilliantly. Expect to pay $200–$400 used.
- Garrard 301 / 401 — Idler-drive legends. Heavy, beautiful, and often installed in custom plinths. Not for the faint of wallet, but unbeatable presence.
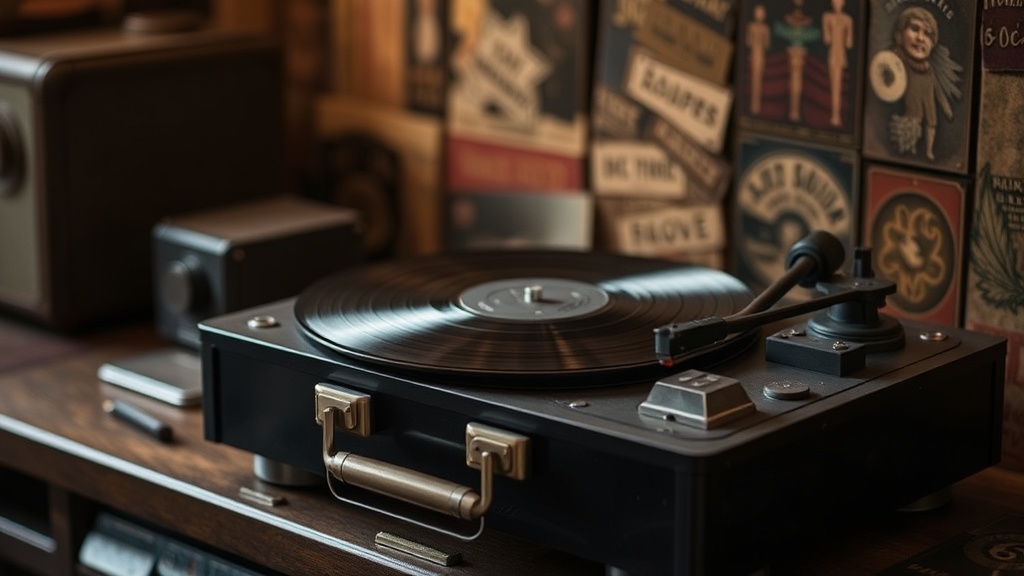
Avoid no-name department-store consoles from the 1980s with ceramic cartridges and plastic platters. They look retro, but they track heavy, sound thin, and chew records. The same goes for suitcase-style “retro” players sold at Urban Outfitters — those are modern toys dressed in vintage clothes.
Where to find parts and community help
eBay and Etsy are goldmines for belts, idler tires, and dust covers. For deeper mechanical help, the Vinyl Me Please turntable buying guide breaks down modern and vintage options in plain English. Forums like Audiokarma and Vinyl Engine host service manuals for almost every model mentioned here — often free to download.
Restoring a vintage record player isn’t about perfection. It’s about rescuing a machine built to last fifty years and giving it another thirty. Start small, buy smart, and enjoy the clicks and pops that only real vinyl can deliver.